Estimates Feature Guide
On this page
- Understanding Estimates
- Starting an Estimate
- Building Your Estimate
- Configuring the Estimate
- Completing the Estimate
- Communication and Messaging
- Sending the Estimate
- Managing Estimates
- What You’ve Learned
This guide covers the Estimates feature in Quote Cactus, explaining how to create, configure, and send estimates to prospects. Estimates provide a streamlined way to offer ballpark pricing while building relationships with potential customers.
Understanding Estimates
Estimates are a helpful way to start conversations with prospects about their needs and help them begin to envision working with you. We recommend viewing them as relationship-building tools rather than just a means to send quick pricing for your work.
Estimates are less complex than quotes, designed to provide an easy way to send ballpark pricing to prospects quickly. They can also facilitate setting up in-person visits to gather more information and further develop your relationship with the prospect.
Starting an Estimate
Quote Cactus offers multiple entry points for creating estimates, allowing you to initiate the process from any location within the platform.
Starting Points
You can begin an estimate from several locations:
- Dashboard page – Click the “Start estimate” link
- Estimates page – Click the “Start estimate” link
- Request page – Click the “Start estimate” link
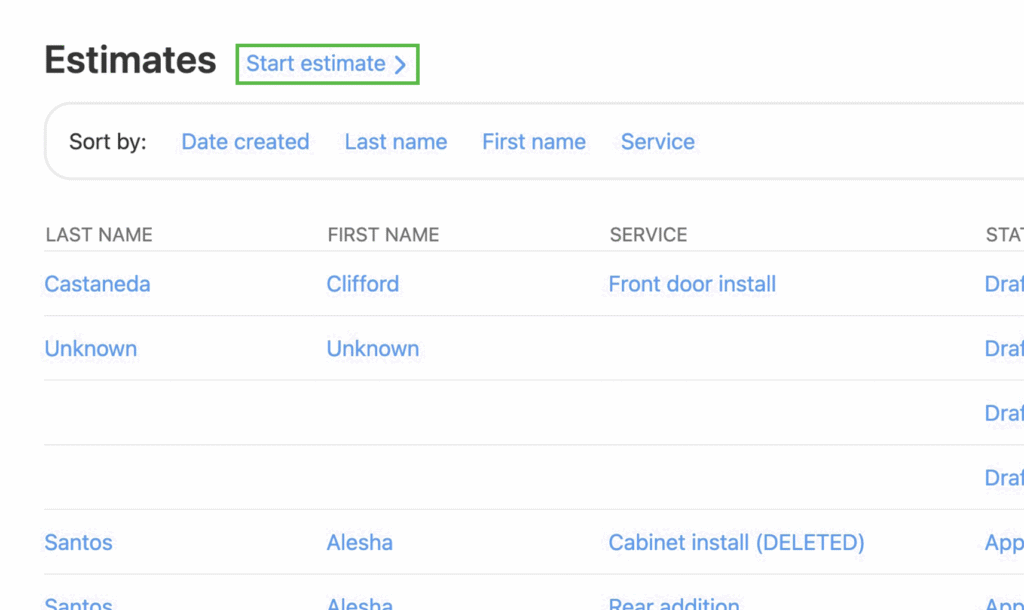
When you click “Start estimate,” a new estimate is created automatically. The platform auto-saves any changes you make, ensuring your work is never lost.
Building Your Estimate
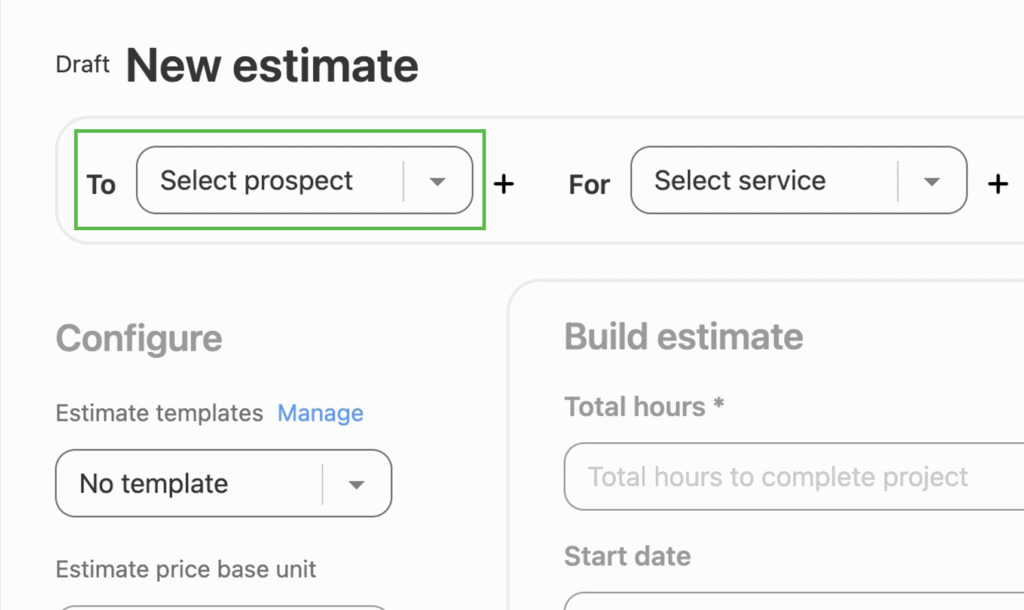
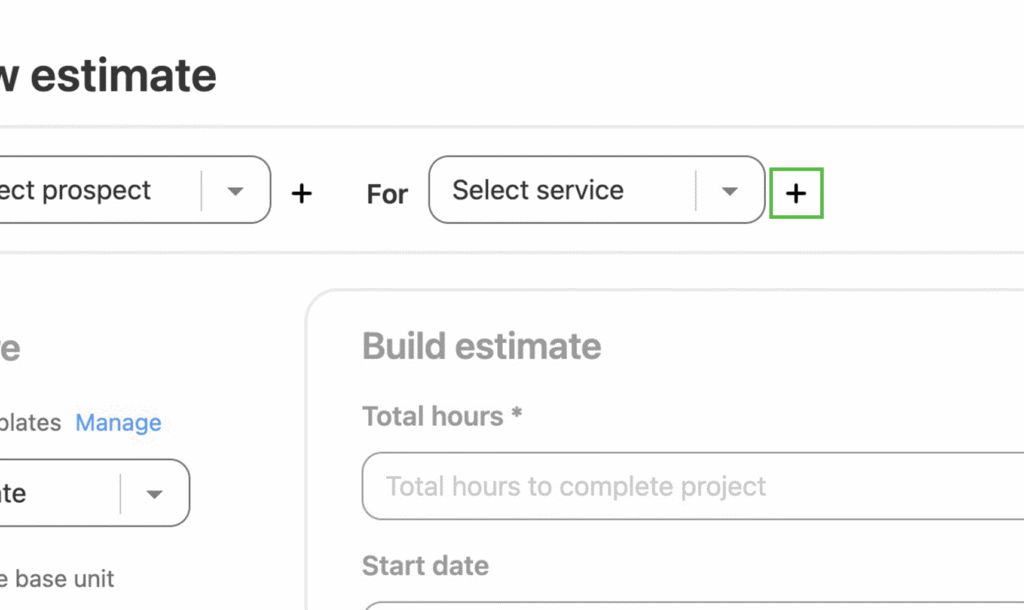
Selecting the Prospect
First, select the prospect to whom you are sending the estimate. The platform displays only active (not archived) prospects in the dropdown menu for streamlined selection.
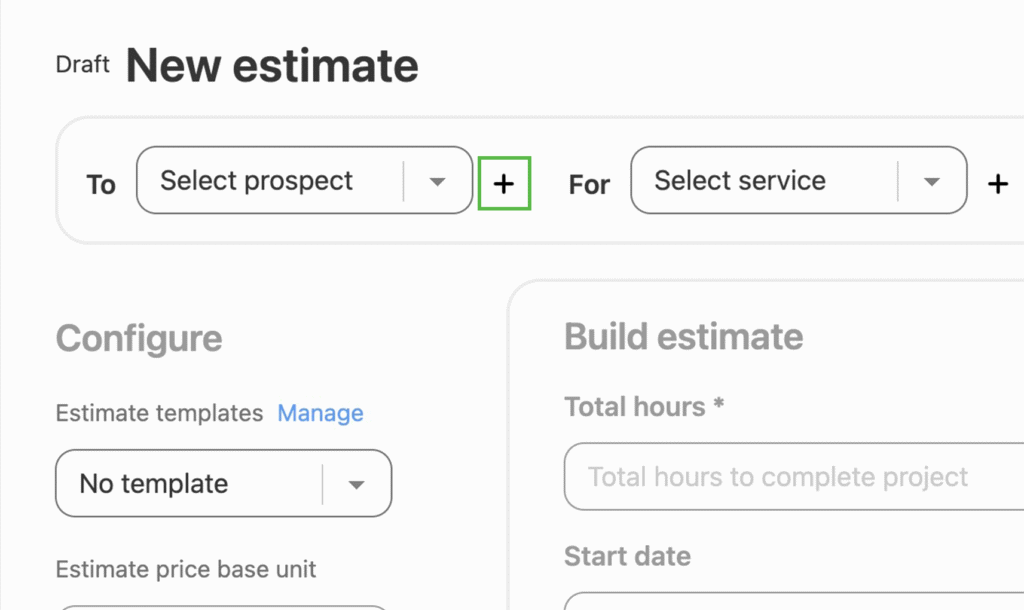
If you need to create an estimate for a prospect who hasn’t been added yet, click the “+” icon to add them. The new prospect will be automatically selected after you complete the addition process.
Choosing the Service
Next, select the service you’re providing the estimate for. Choose from your existing service catalog to ensure consistency in pricing and descriptions.
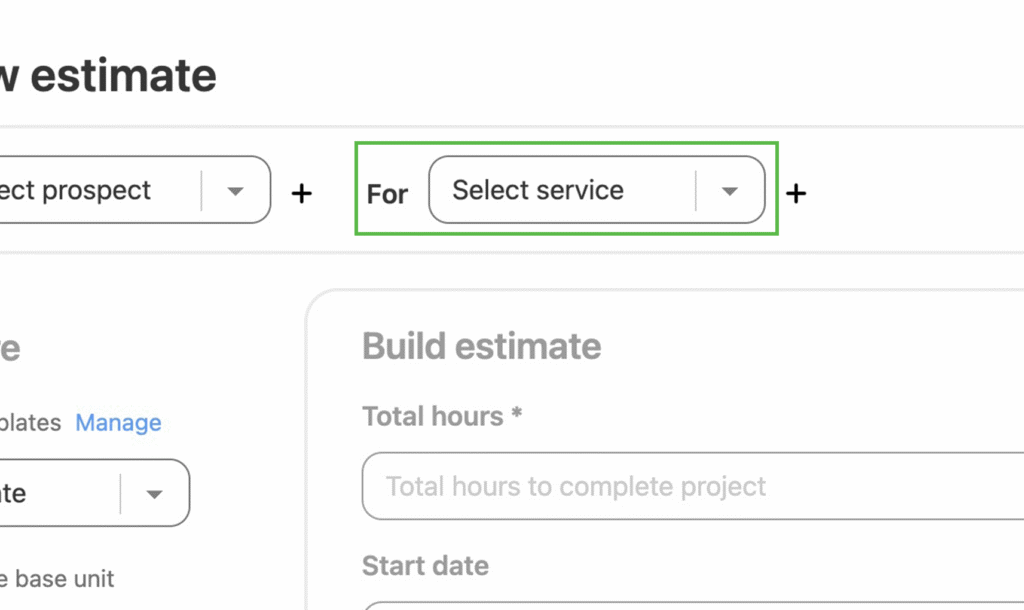
If you need to add a service that doesn’t exist in your catalog, click the “+” icon next to the service selection. The new service will be automatically selected after creation.
Configuring the Estimate
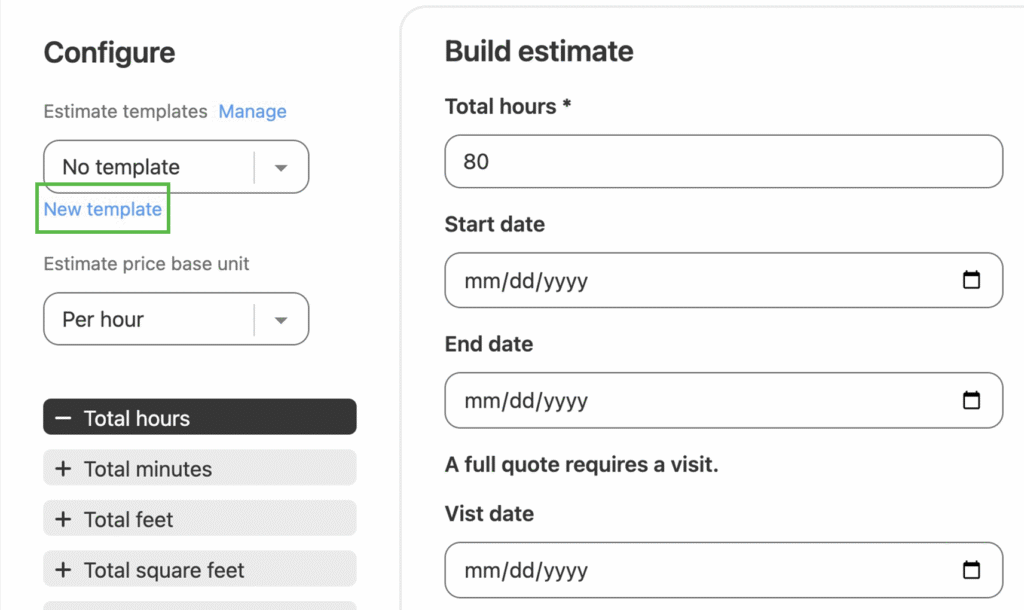
Using Estimate Templates
If you’ve created similar estimates before and saved them as templates, select one from the Estimate templates dropdown. Once selected, the estimate will be configured automatically based on the template settings.
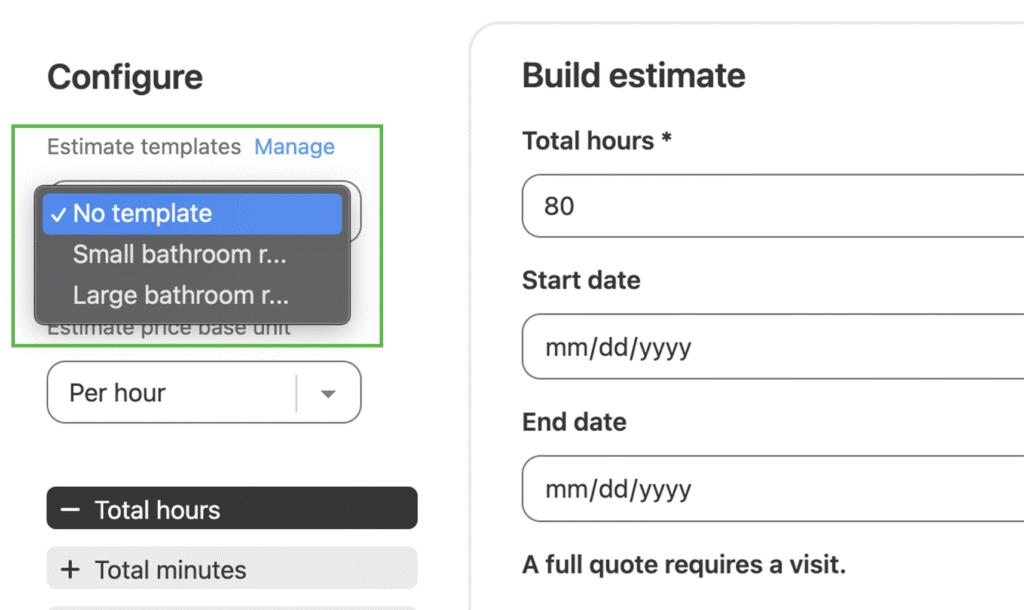
You can delete templates you no longer need by clicking the “Manage” link, helping keep your template list organized and current.
Setting the Price Base Unit
Configure how the estimate’s total price will be calculated by selecting the appropriate base unit. The available units are those you defined when creating the service.

For example, if you want the estimate’s total price calculated based on the hourly rate assigned to the service, choose “Per hour.” If the service has a custom price base unit like “Per week,” you can select that option as well.
When you select a base unit, the corresponding input field becomes required for sending the estimate. Without a value in this field, the total price cannot be calculated.
The estimate’s total price is calculated by multiplying the number of units you enter by the service’s price for that unit.
Example: Total price = $28 per hour × 12 hours = $336
Configuring Additional Fields
Use the toggles to enable or disable fields based on what information you want to include in your estimate.
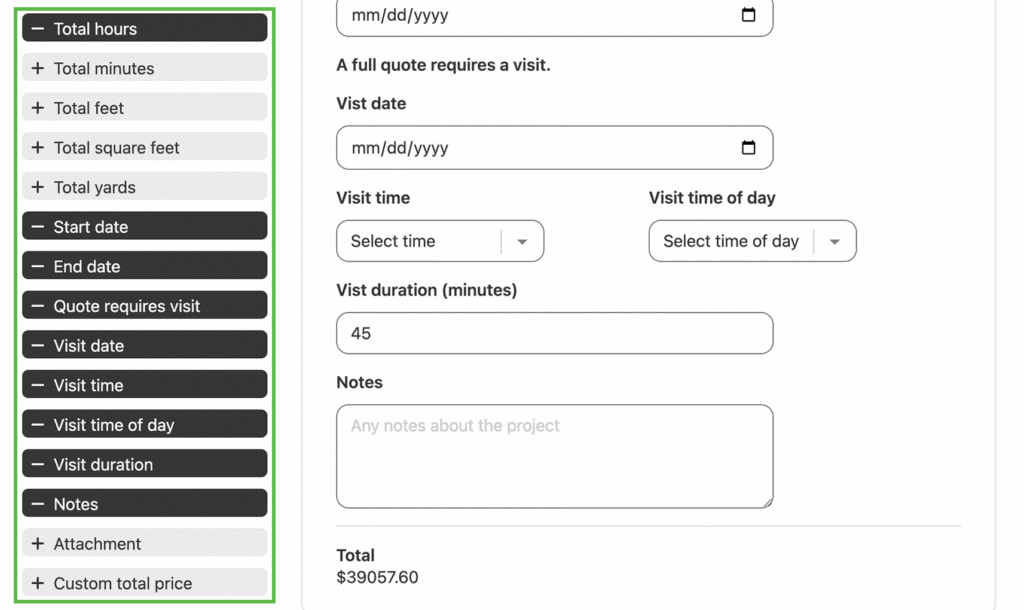
Available unit-based fields:
- Hours
- Minutes
- Feet
- Square feet
- Yards
You can use multiple unit fields in the same estimate. For example, use the hours field to set the total price while also using the square feet field to note the project’s total square footage.
Date fields:
- Start date – When the project will begin
- End date – When the project will be completed
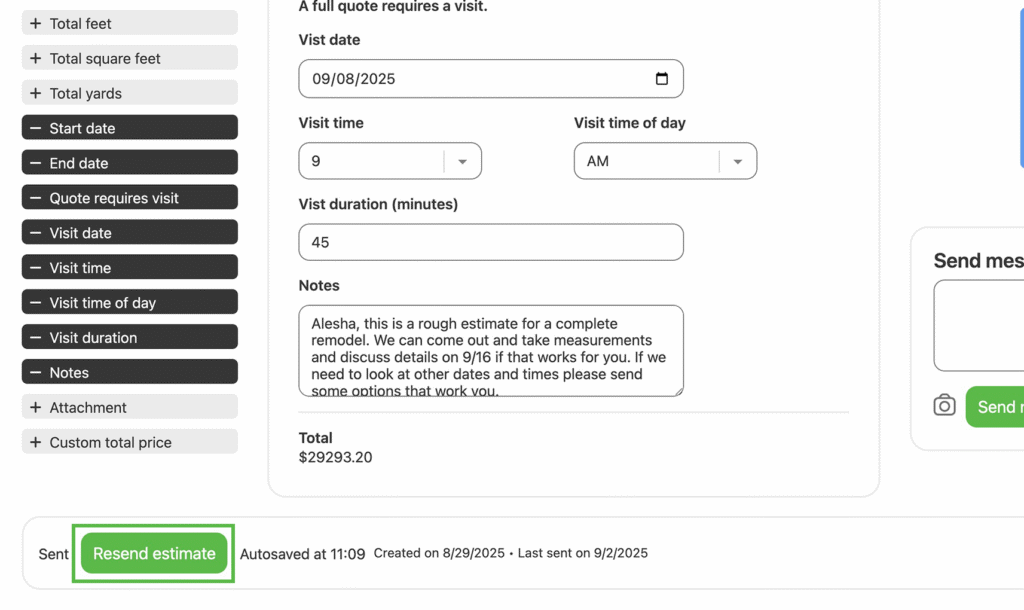
Visit scheduling:
- Quote requires visit – Toggle on if you need to visit the site to build a detailed quote
- Proposed visit date and time – Set when you’d like to visit
- Visit duration – Specify how long the visit will take
Communication options:
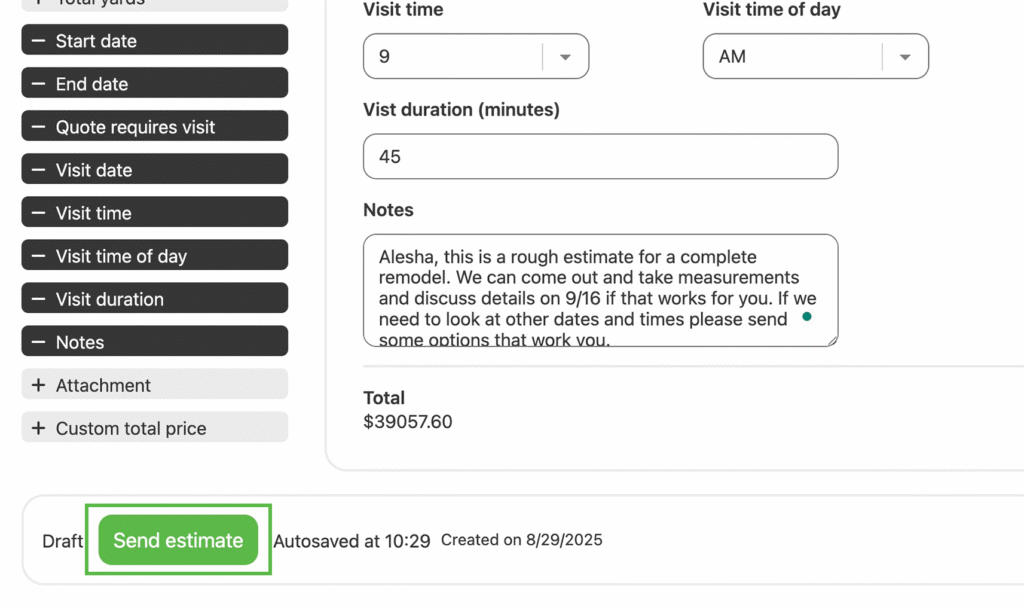
- Notes – Include a personalized message to the prospect (recommended for relationship building)
- Attachment – Include files such as:
- Lookbooks of similar projects
- Customer testimonials
- Promotional videos or brochures
Custom pricing:
- Custom price – Override the calculated total when the project warrants specific pricing adjustments
Completing the Estimate
Entering Field Values
After configuring which fields to include, enter values into the enabled fields. The only required field is the one associated with your selected price base unit.
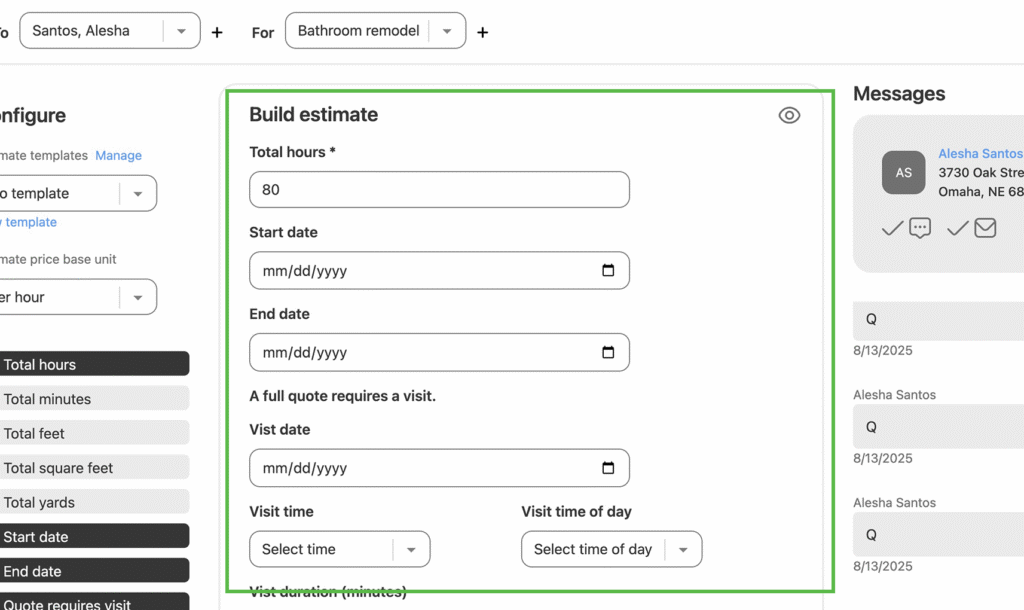
Important: Fields left empty will not appear on the final estimate sent to your prospect.
Previewing Your Work
Click the eye icon in the top right corner of the builder column to preview how the estimate will appear to your prospect in the customer portal.
Creating Templates
If you plan to send similar estimates in the future, create a new template from the current estimate by clicking “New template.” This template will be available when creating future estimates.
Communication and Messaging
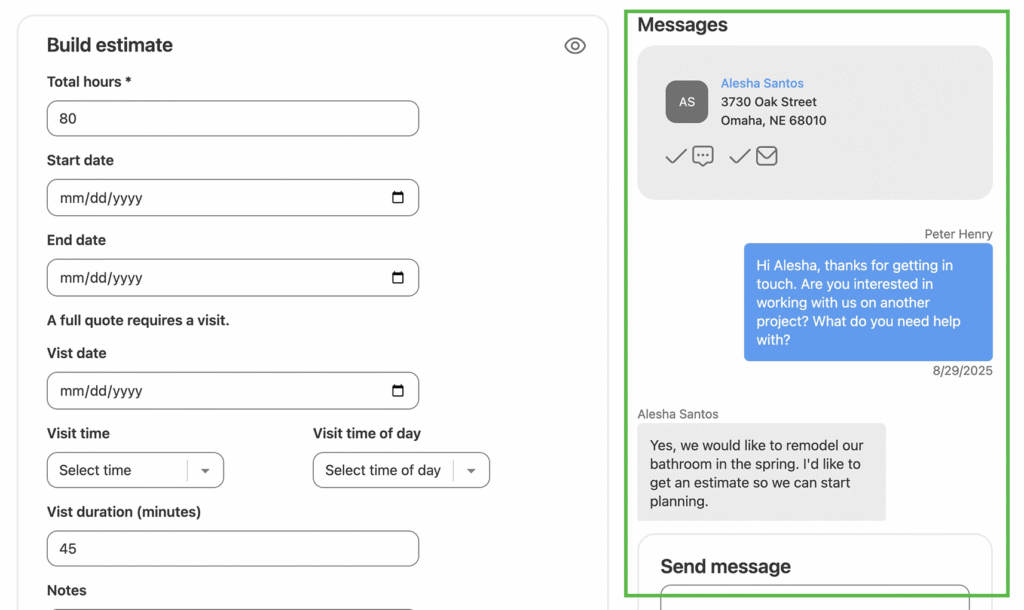
Prospect Communication
Use the Message column to communicate with prospects directly from the estimate page. This integrated messaging helps you ask clarifying questions, set up visit times, and maintain all communication in one central location.
Sending the Estimate
Delivery Process
When you’re ready to send the estimate, click the “Send estimate” button. The platform ensures proper delivery protocols are followed.
Important delivery requirements:
- You can only send estimates to prospects who have opted in to receive communications
- Prospects added manually receive an opt-in request immediately
- Prospects who submit requests via landing page or text message are automatically opted in
- If you need to resend an opt-in request, you can do so from the prospect’s page
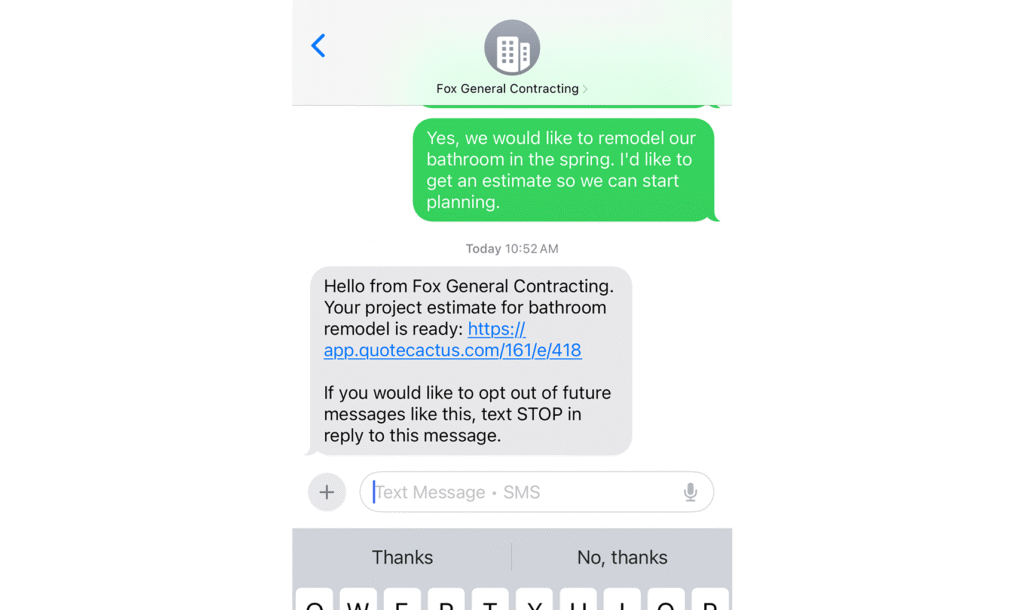
Prospect Notification
Once sent, prospects receive notifications via both text message and email that their estimate is ready. They can follow the link in the notification to view the estimate securely in your customer portal, where they can accept or reject it.
Response Handling
When prospects take action by accepting or rejecting the estimate, you and your team receive immediate notifications. Recent estimate activity for your assigned prospects also appears on the dashboard page.
Next steps based on prospect response:
- If accepted – Proceed with any scheduled onsite visits or begin working on a full quote
- If rejected – Follow up via messages to understand their concerns and determine if adjustments can help reach an acceptable price and scope
Managing Estimates
Updating Estimates
If you make changes to an estimate after sending it, click the “Resend estimate” button to notify the prospect that their estimate has been updated.
Deleting Estimates
Remove estimates by clicking the “Delete” link. Once deleted, prospects can no longer view these estimates.
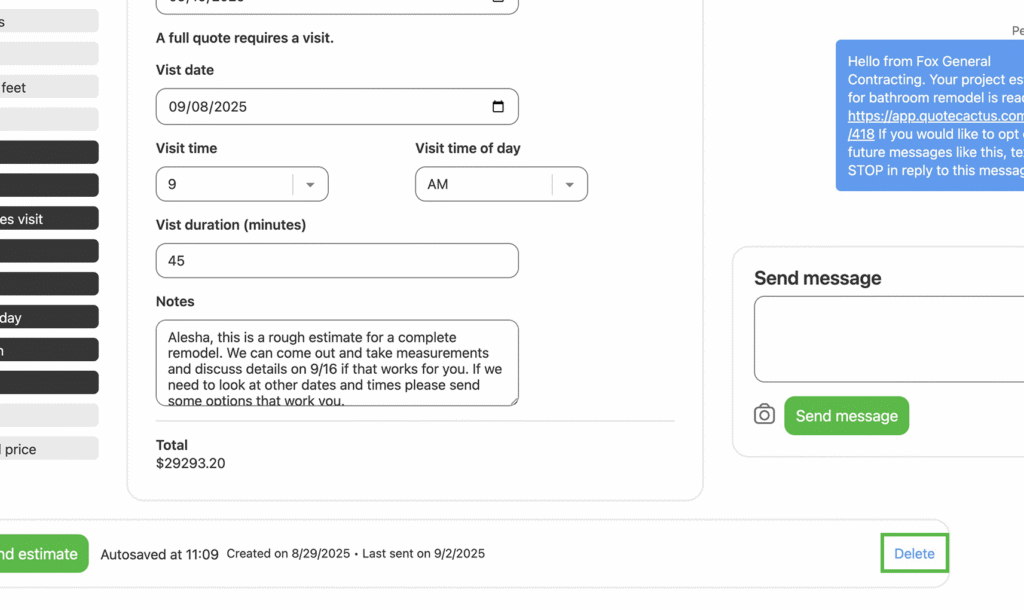
Delete estimates that are no longer relevant or were created in error.
Warning: Deleted estimates cannot be recovered.
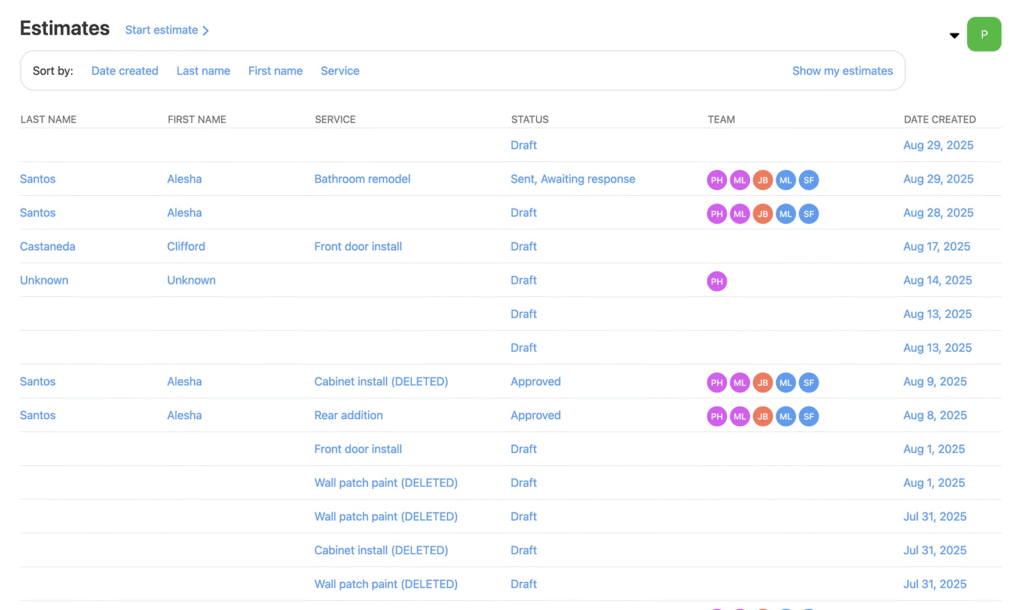
Viewing All Estimates
Access all estimates from the estimates page, which provides sorting options by Date Created, Last Name, First Name, and Service. Use “Show my estimates” to view only estimates for prospects assigned to you.
What You’ve Learned
You now understand how to create, configure, and manage estimates in Quote Cactus. Estimates serve as an effective tool for providing ballpark pricing while building relationships with prospects and facilitating the next steps in your sales process.
Consider exploring these related guides:
The Estimates feature provides a streamlined approach to pricing conversations, helping you engage prospects effectively while maintaining professional communication standards throughout the sales process.
Next steps

Quotes
Build and send complete quotes.